How to Get Your Gravatar Image
Want your own profile photo to appear beside your comments on websites? Gravatar makes it easy. Here is a simple beginner-friendly guide to creating your free Gravatar profile, using Google to sign in, and connecting your image to your email address.
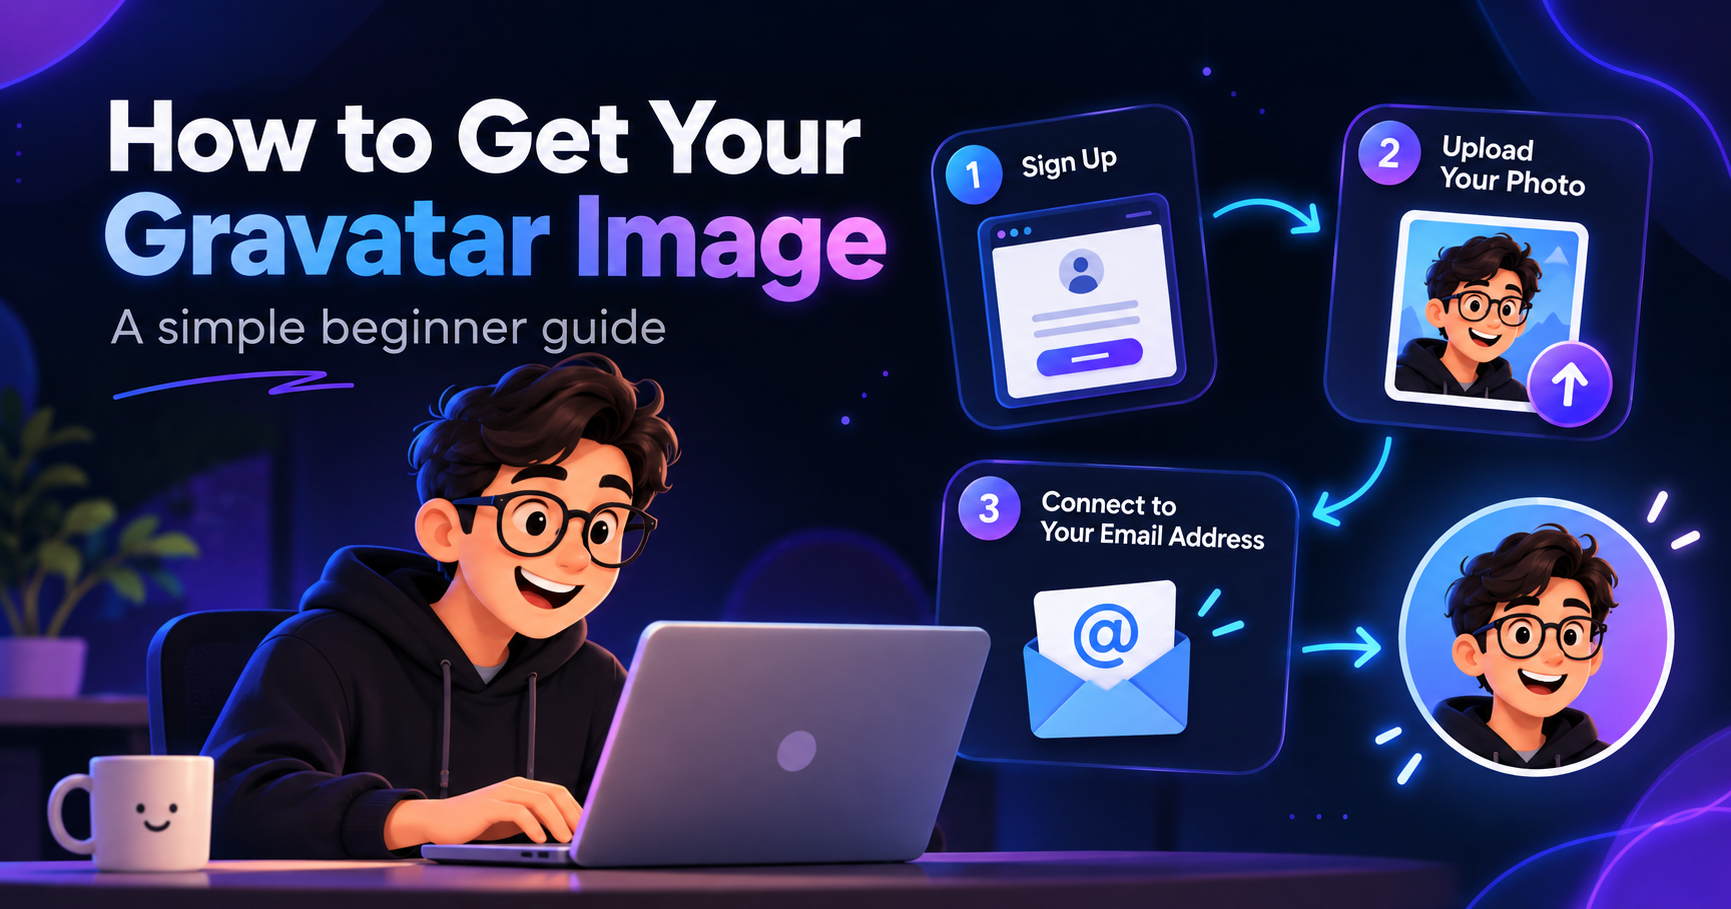
Have you ever noticed that some people have their own little profile photo beside their name when they leave a comment on a website?
That image may be coming from Gravatar.
Gravatar stands for Globally Recognized Avatar. You connect a picture to your email address, and websites that support Gravatar can automatically show that picture when you use the same email address.
Gravatar is free to use.
Step 1 - Go to Gravatar
Visit:
Click Sign Up or Get Started.
Gravatar uses a WordPress.com account for signing in, but do not let the WordPress name confuse you. You do not need to create a WordPress website or blog.
The Easy Way - Use Your Google Account
If you already have a Google or Gmail account, you may be able to use it to sign in through WordPress.com.
When the WordPress.com login page appears, choose Continue with Google.
Select your Google account and follow the instructions on the screen.
This means you do not need to remember another separate password just for Gravatar.
If you already have a WordPress.com account, you can simply log in with that instead.
Step 2 - Confirm Your Email Address
If you create the account using your email address, Gravatar may send you an email with a confirmation link or verification code.
Open that email and follow the instructions.
This step is important because Gravatar needs to know that the email address really belongs to you.
Step 3 - Add Your Profile Picture
Once you are logged in to Gravatar, go to the Avatars section.
Choose Upload and select the picture you want to use.
You can use a photo of yourself, your business logo, a mascot, or another image that represents you.
A square picture usually works best because Gravatar displays profile images in a square shape.
You can crop the image before saving it.
Step 4 - Connect the Picture to Your Email Address
This is the most important part.
Your Gravatar image is connected to your email address.
If your Gravatar picture is connected to:
then you should use:
when leaving a comment on a website.
If that website supports Gravatar, it can automatically find your picture.
You do not need to upload the image again on every website.
Do You Have More Than One Email Address?
That is fine too.
You can add more email addresses to the same Gravatar account.
In your Gravatar profile, go to the Avatars section and choose the option to Add email.
Gravatar will send a confirmation message to the new email address.
After you confirm it, you can connect your avatar to that email too.
You can even use different Gravatar pictures for different email addresses.
Why Is My Gravatar Not Showing?
If your picture does not appear, check these simple things:
Make sure you used the same email address on the website and in Gravatar.
Make sure you confirmed your email address.
Make sure an avatar has actually been selected for that email address.
If you only just added or changed the picture, give it a little time to update.
That's It!
Once your Gravatar is set up, you can use the same email address on websites that support Gravatar and your profile picture can appear automatically.
You can create your free Gravatar here:
And yes - comments here on ingaoz.top support Gravatar too. 😊
0 Comments
Be the first to leave a comment.
Leave a Comment
Your email is used only for your Gravatar and is never displayed.